Comprehensive Analysis of UV Adhesive Applications for Touch Screens: Processes, Key Points, and Problem Solving
In modern electronic devices, touch screens have become a critical interface for human-computer interaction, widely used in smartphones, tablets, industrial control panels, and more. UV adhesives for touch screens serve as key materials to ensure tight bonding and stable operation of touch screen components, playing a pivotal role in the entire manufacturing process. This article comprehensively introduces the application process of UV adhesives for touch screens, helping relevant professionals and enthusiasts gain in-depth insights into this critical technological link.
I. Overview of UV Adhesive Characteristics
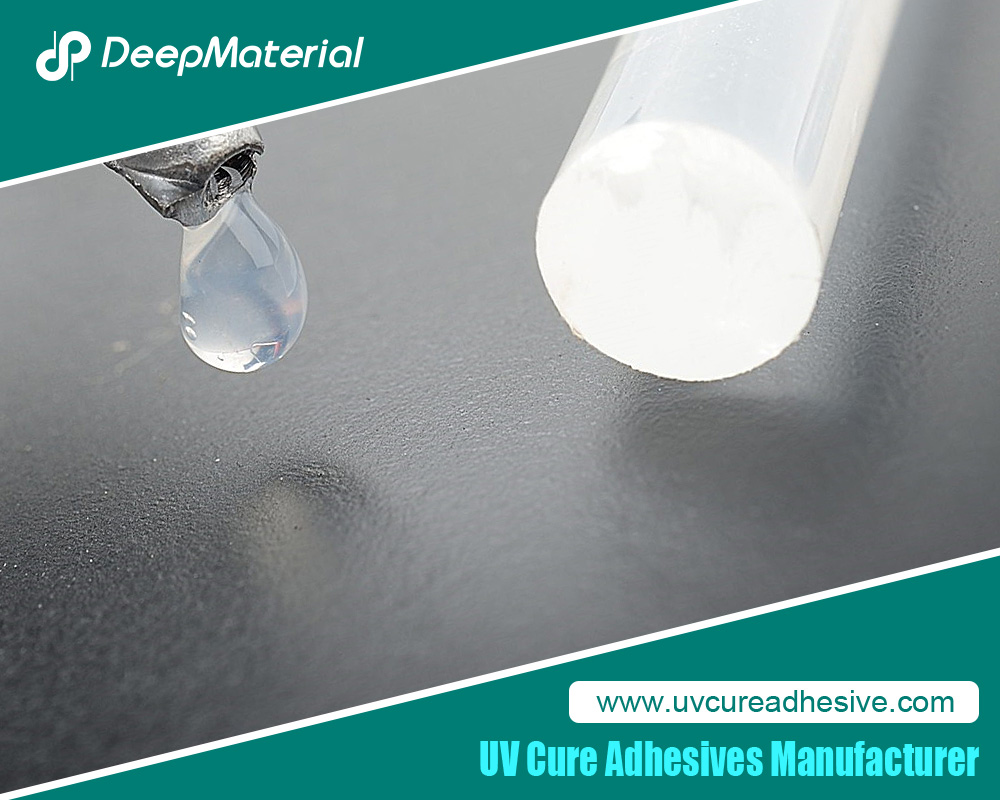
UV adhesives, or ultraviolet-curing adhesives, are a type of adhesive that cures only when exposed to ultraviolet light. In touch screen manufacturing, commonly used UV adhesives are often acrylic or epoxy-based, offering multiple advantages:
- Rapid Curing: Capable of curing in a short time to significantly improve production efficiency.
- Strong Adhesion: Good adhesion to various materials such as glass, metal, and plastic, ensuring reliable bonding between touch screen components.
- Superior Optical Performance: High light transmittance ensures clear screen display; low reflectivity reduces visual interference; anti-fog, impact resistance, and scratch resistance extend screen lifespan.
- Environmental Friendliness: Most UV adhesives are 100% solid with no solvent emissions, aligning with modern industry’s sustainable development requirements.
II. Pre-Application Preparations
(A) Material and Tool Preparation
- UV Adhesive Selection: Choose appropriate UV adhesive models based on the specific materials, performance requirements, and production processes of the touch screen. Different brands and models of UV adhesives vary in curing speed, bond strength, optical properties, and flexibility. For example, flexible touch screens require UV adhesives with good flexibility and low stress to avoid delamination or screen damage from bending.
- Curing Equipment: Equip professional UV curing equipment, such as UV LED curing lamps. UV LEDs feature stable output, long lifespan (typically >20,000 hours), low energy consumption, instant on/off without preheating, and output only in the UV-A band (usually 365nm), matching the curing characteristics of touch screen UV adhesives to ensure stable and efficient curing.
- Auxiliary Tools: Prepare plastic scrapers, dispensing needles, lint-free cloths, isopropyl alcohol, etc. Plastic scrapers are used for uniform UV adhesive application; dispensing needles enable precise micro-dispensing for fine bonding areas; lint-free cloths and isopropyl alcohol clean surfaces to remove oil, dust, and impurities for optimal adhesion.
(B) Surface Cleaning and Treatment
- Cleaning Method: Wipe the bonding surface of the touch screen gently and uniformly with a lint-free cloth dipped in isopropyl alcohol. For oily areas, increase wiping intensity appropriately while avoiding surface scratches. Wipe in a consistent direction to prevent secondary contamination.
- Cleaning Purpose: Thoroughly remove surface oil, dust, and impurities to provide a solid foundation for UV adhesive bonding. Even tiny particles or oil residues can hinder full contact between the adhesive and the surface, reducing bond strength and causing quality issues like delamination or bubbles in the touch screen.
III. UV Adhesive Coating Operations
(A) Dispensing Process
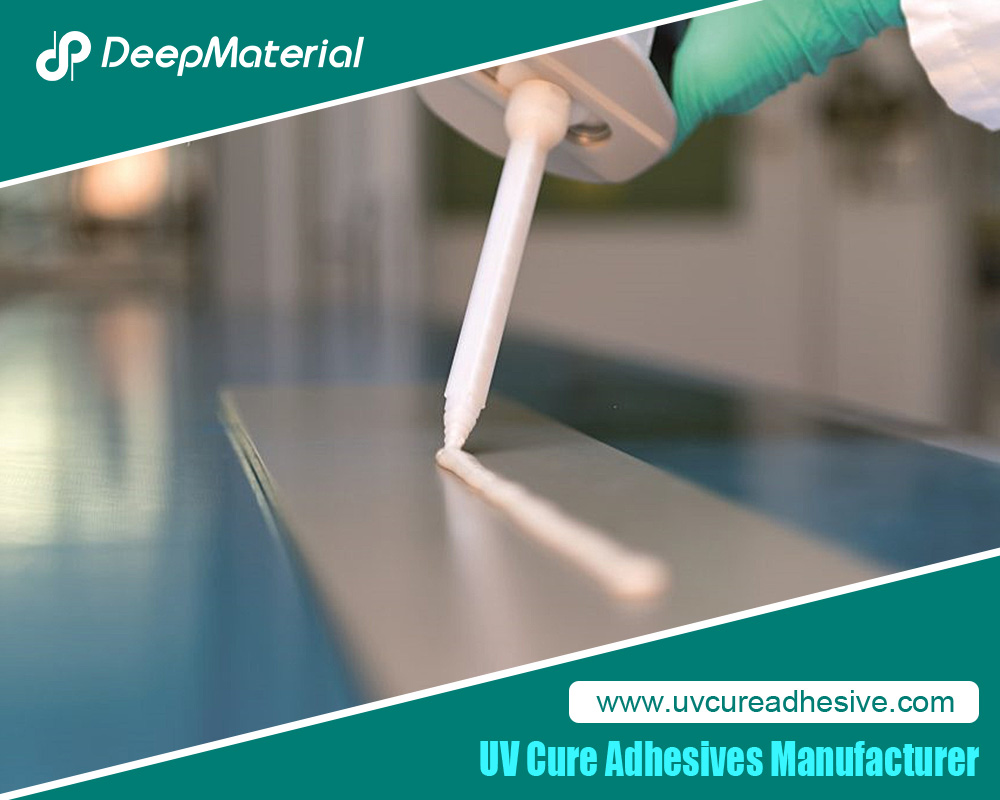
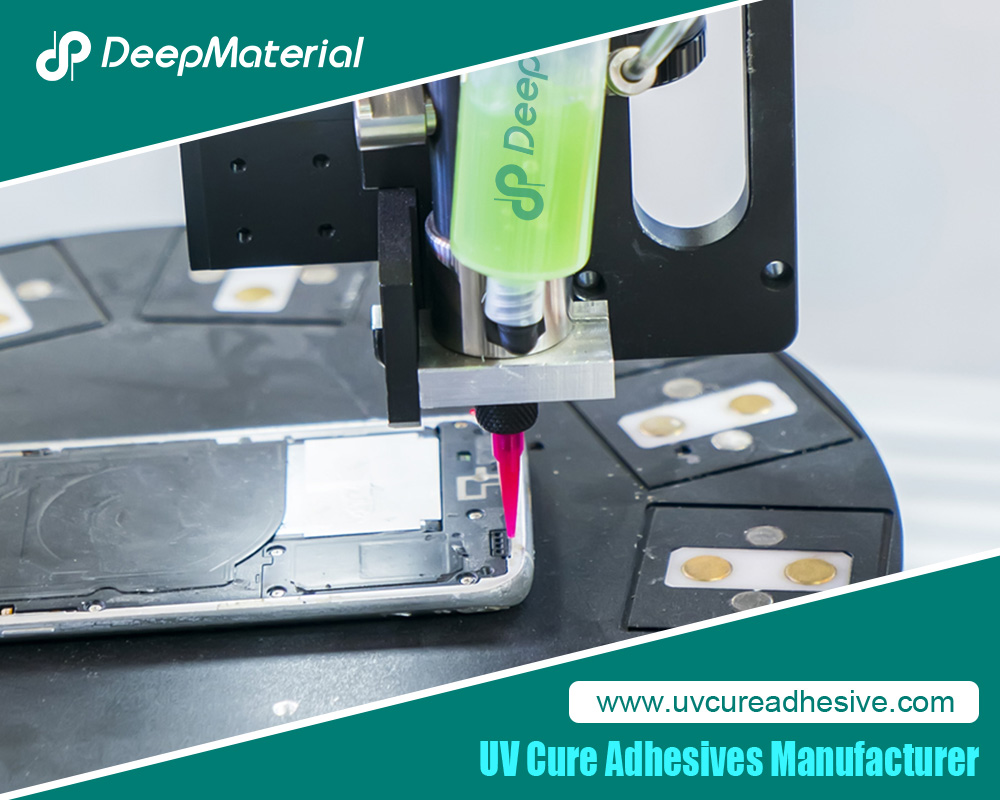
- Control of Dispensing Volume: Precisely control the dispensing volume based on the touch screen’s size and bonding area. Use a dispenser to set parameters (e.g., dispensing time, air pressure) for consistent volume. The volume should sufficiently fill the bonding gap without excessive overflow. For small touch screens, each dispensing point may require only a few microliters, while larger screens need proportionally more.
- Distribution of Dispensing Positions: Apply UV adhesive evenly to specified positions on the touch screen as per design requirements. For example, when bonding a glass cover to a touch screen panel, dispense adhesive uniformly along the cover’s edge, with a spacing of 5–10 mm between points to ensure even spreading and a complete bonding layer during lamination.
(B) Coating Process
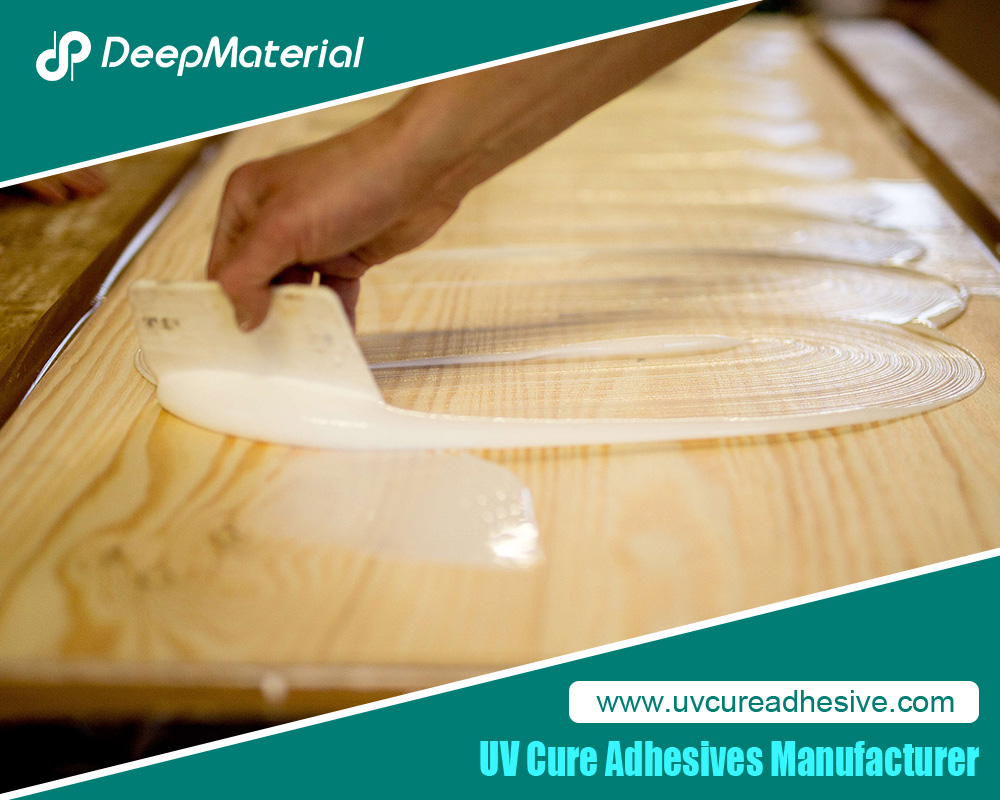
- Squeegee Coating: For large-area coating, pour an appropriate amount of UV adhesive at one end of the touch screen and use a plastic scraper to spread it evenly toward the other end, forming a uniform film. The scraper’s angle (30–45 degrees with the screen) and speed (1–3 cm/s, adjusted for adhesive viscosity and area) affect film thickness and uniformity.
- Screen Printing Coating: For touch screens with specific patterns or fine coating requirements, screen printing is suitable. Pour UV adhesive onto a screen printing stencil and use a squeegee to transfer the adhesive through pattern holes onto the touch screen. This method ensures precise control of coating position and thickness, ideal for complex circuits or functional areas, though it requires higher equipment costs and professional operation.
IV. Lamination and Bubble Handling
(A) Lamination Operations
- Lamination Method: Laminate the touch screen component coated with UV adhesive with another component (e.g., glass cover, display screen), ensuring accurate alignment using positioning fixtures or optical alignment systems. For flexible touch screens, avoid stretching or twisting during lamination to preserve performance.
- Lamination Pressure and Speed: Apply appropriate pressure (0.1–0.5 MPa) to bring components into close contact, promoting uniform UV adhesive distribution and air exclusion. Lamination speed should be controlled at 0.1–0.5 cm/s to avoid excessive bubbles, allowing sufficient time for adhesive flow and gap filling.
(B) Bubble Handling
- Natural Defoaming: After lamination, let the component stand for 1–5 minutes to allow large bubbles to rise and burst naturally. Gently shake the component during this time to aid bubble escape without causing misalignment.
- Vacuum Defoaming: For high-precision production, place laminated components in a vacuum chamber (-0.08 to -0.1 MPa) for 3–10 minutes. Reduced pressure in the vacuum environment causes bubbles to expand and rupture, achieving defoaming.
- Puncture Defoaming: For small bubbles resistant to natural or vacuum defoaming, use a fine needle or toothpick to pierce them gently (without damaging the screen), then re-press the component to refill the bubble area with adhesive.
V. UV Curing Process
(A) Curing Parameter Settings
- Curing Time: Determine curing time based on UV adhesive type, layer thickness, and UV curing equipment power/wavelength. Typically, common touch screen UV adhesives cure in 30 seconds to 2 minutes under a 365nm UV LED lamp. Thicker layers or special formulations may require longer curing.
- Curing Intensity: UV curing intensity is measured by energy density (mJ/cm²), with recommended ranges of 100–1000 mJ/cm² for different UV adhesives. Adjust equipment power, irradiation distance, and time to control energy density, ensuring full curing without over-curing that could degrade adhesive performance or damage components.
(B) Curing Equipment Operation
- Equipment Preheating: Preheat traditional mercury lamp curing equipment (if required) for 5–15 minutes to stabilize operation. UV LED lamps typically require no preheating.
- Irradiation Method: Place laminated touch screen components in the UV equipment’s irradiation zone to ensure full UV exposure. For large or irregularly shaped components, use rotation or translation (e.g., a rotating platform) to ensure uniform irradiation from all angles.
VI. Post-Curing Inspection and Treatment
(A) Visual Inspection
- Inspection Content: After curing, visually check for bubbles, adhesive overflow, delamination, and other defects, focusing on edges and corners prone to bonding issues. Also, inspect display quality for anomalies like distorted images, bright spots, or dark spots caused by adhesive problems.
- Inspection Method: Use visual observation combined with a 5–10x magnifying glass to detect subtle defects for timely resolution.
(B) Performance Testing
- Bond Strength Testing: Use tensile testing machines or peel tests to measure bond strength. Tensile tests apply controlled tensile force to record failure values against standard requirements. Peel tests assess resistance to peeling forces in simulated real-world use.
- Optical Performance Testing: Use spectrophotometers and haze meters to measure optical parameters like transmittance, haze, and reflectance, ensuring UV curing does not compromise screen display quality.
(C) Defect Repair
- Small-Area Delamination Repair: For minor delamination, reapply UV adhesive to the clean defect area and recure.
- Bubble Repair: For remaining bubbles, use the puncture method described earlier, then recure to fill the bubble area with adhesive.
VII. Common Issues and Solutions
(A) Incomplete Curing
- Causes: Insufficient UV equipment power, short curing time, mismatched adhesive-wavelength, or thick adhesive layers.
- Solutions: Upgrade to higher-power equipment, extend curing time, select wavelength-matched adhesives, and control coating thickness.
(B) Inadequate Bond Strength
- Causes: Poor surface cleaning, insufficient adhesive volume, low lamination pressure, or low-quality adhesives.
- Solutions: Enhance surface cleaning, adjust dispensing volume, increase lamination pressure, and use reliable adhesive brands.
(C) Excessive Bubbles
- Causes: Air entrainment during dispensing/coating, fast lamination speed, or ineffective defoaming.
- Solutions: Optimize coating techniques to minimize air bubbles, reduce lamination speed, and combine vacuum, natural, and puncture defoaming methods.
VIII. Conclusion
The application process of UV adhesives for touch screens involves multiple stages—preparation, coating, lamination, defoaming, curing, and post-inspection—each critical to the touch screen’s final quality and performance. In production, operators must strictly follow process requirements, monitor parameters and quality control closely, and address issues promptly to ensure high-performance touch screen manufacturing. As touch screen technology evolves, UV adhesive application processes will continue to improve, supporting the development of thinner, lighter, and higher-performance electronic devices.
For more about comprehensive analysis of UV adhesive applications for touch screens: processes, key points, and problem solving, you can pay a visit to DeepMaterial at https://www.uvcureadhesive.com/ for more info.