Step-by-Step Guide: Achieving Flawless Display Lamination with UV LOCA Glue
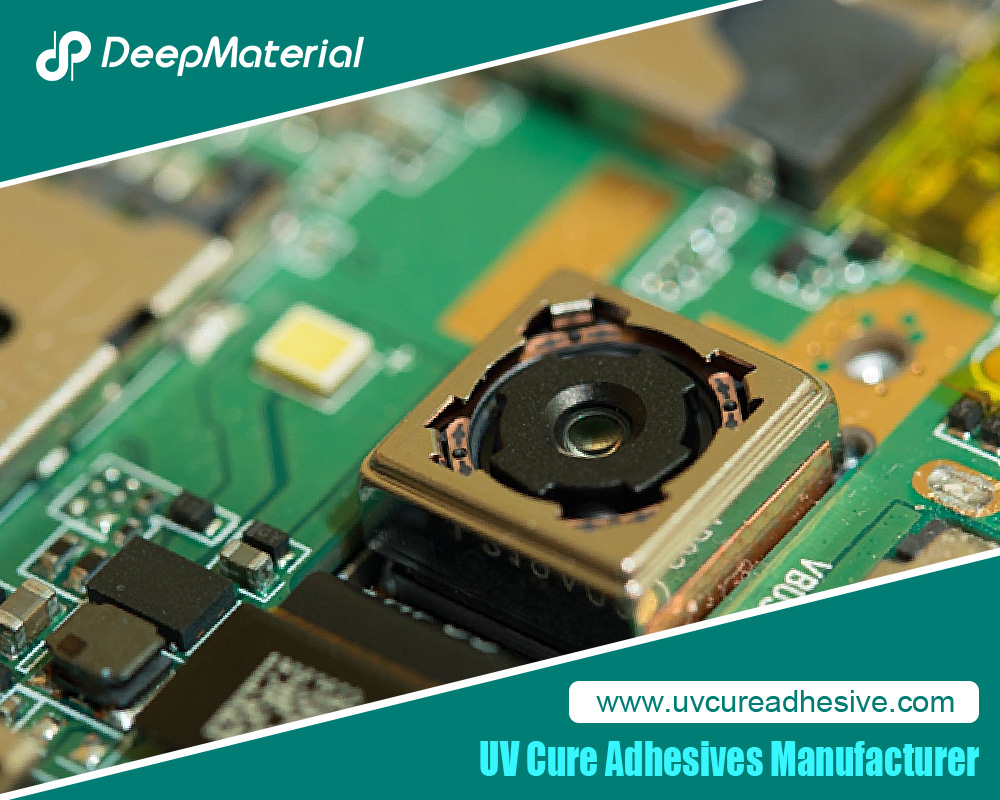
The pursuit of perfect visual clarity and seamless integration in modern displays—from smartphones and tablets to specialty instruments and high-end automotive consoles—has made Optical Clear Adhesive (OCA) lamination a critical process. While traditional dry OCAs dominate mass production, UV-curable Liquid Optically Clear Adhesive (UV LOCA) offers unparalleled advantages for prototyping, repair, and small-batch manufacturing. This guide provides a comprehensive, technical walkthrough for achieving professional-grade, bubble-free display lamination using UV LOCA glue, covering everything from material science fundamentals to detailed procedural steps and troubleshooting.
1. Why UV LOCA?
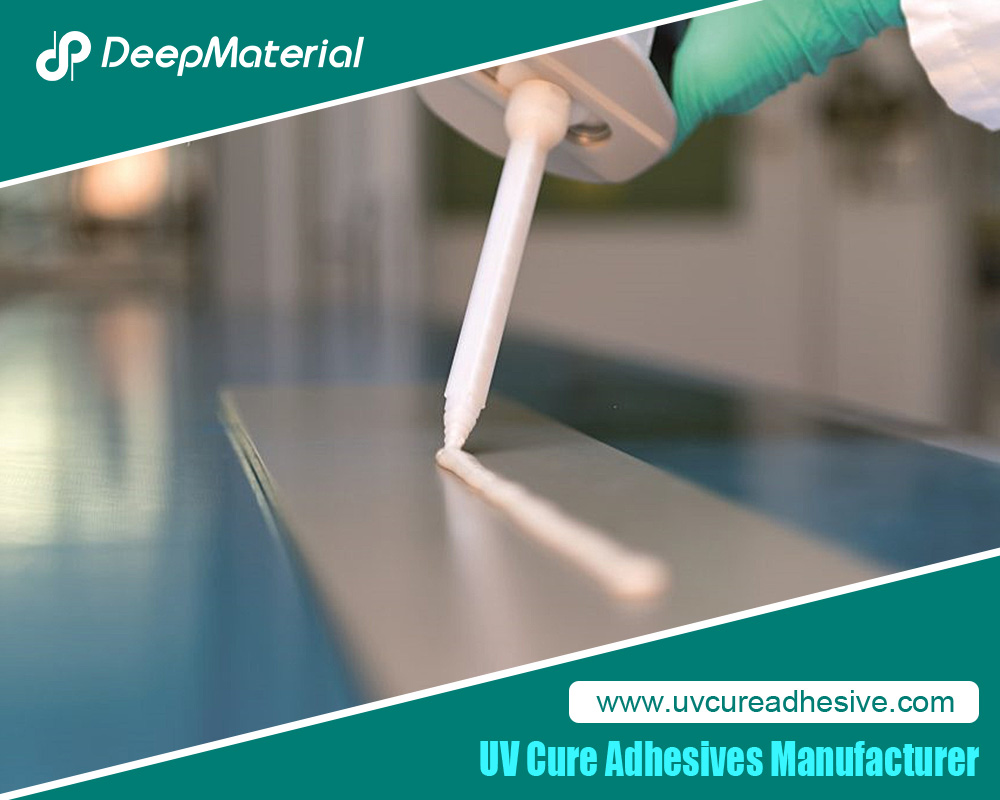
Display lamination bonds a cover glass (or touch sensor) to the underlying display module (LCD or OLED). This eliminates the air gap, reducing internal reflections, improving contrast and readability in bright light, enhancing structural rigidity, and providing a superior tactile experience. UV LOCA is a liquid adhesive that remains workable until exposed to ultraviolet light, triggering an immediate and complete cure.
Key Advantages of UV LOCA:
-
Bubble Elimination: Its liquid nature allows it to flow and fill microscopic irregularities, enabling the expulsion of air bubbles that can plague dry OCA film applications.
-
Irregular Gap Filling: Excellent for bonding surfaces that aren’t perfectly planar or have complex topography.
-
Reworkability: Before curing, misalignments can be corrected, and the adhesive can be cleaned off.
-
No Laminator Required: The process relies on capillary action and careful technique rather than expensive vacuum laminators, making it accessible.
Primary Considerations: UV LOCA demands meticulous cleanliness, a controlled environment, and strict adherence to process timing. Failure points typically arise from contamination, improper curing, or inadequate preparation.
2. Materials and Equipment
Gathering the correct tools is 80% of success.
Essential Materials:
-
UV LOCA Glue: Select based on viscosity (medium, 3,000-8,000 cPs is often ideal), refractive index (must match glass ~1.5), cure time, and final hardness (softer grades offer better drop shock absorption). Ensure it’s from a reputable supplier.
-
High-Intensity UV Light Source: A UV LED lamp with a wavelength of 365nm is standard. Ensure it has sufficient power output (≥ 3000mW/cm² at the curing distance) and a large enough exposure area. A mercury-vapor lamp can also be used but runs hotter.
-
Display Assembly: Clean cover glass (or touch panel) and display module.
-
High-Purity Isopropyl Alcohol (IPA): 99% or higher for cleaning.
-
Lint-Free Wipes & Swabs: Pec-pads or Kimwipes.
-
Dust-Removal Tape: Specially formulated tape to lift microscopic particles.
-
Plastic Spacers/Shims: 0.1mm – 0.3mm thick, to control adhesive layer thickness and prevent glass contact (“Newton’s Rings”).
-
Plastic Squeegee or Flexible Card: For spreading adhesive.
-
Syringe or Precision Applicator Bottle: For controlled LOCA dispensing.
-
UV-Blocking Film or Tape: To protect areas from premature curing (e.g., light sensors, bezels).
-
Personal Protective Equipment (PPE): Nitrile gloves, safety glasses. Some LOCAs can be skin irritants.
Optional but Recommended:
-
Clean Bench or Laminar Flow Hood: For a particle-controlled environment.
-
Digital UV Intensity Meter: To verify lamp output.
-
Vacuum Chamber/Desiccator: For degassing the adhesive post-mixing (if required by the product).
-
Digital Calipers: For verifying spacer thickness.
3. Workspace and Environmental Preparation
The battlefield must be pristine.
-
Clean Room Conditions: Perform the lamination in the cleanest area possible. Turn off HVAC fans to minimize air currents. Wet-clean all surfaces.
-
Controlled Lighting: Use yellow or LOCA-safe LED lighting to prevent partial premature curing of the adhesive.
-
Temperature & Humidity: Maintain a stable environment (20-25°C, 40-60% RH). High humidity can cause hazing (moisture cure inhibition); low humidity increases static dust attraction.
-
Organize: Lay out all tools in a logical sequence within easy reach.
4. The Step-by-Step Lamination Process
Phase 1: Preparation & Cleaning (The Most Critical Phase)
-
Inspect Components: Under bright, oblique light, scrutinize both the display and the cover glass for scratches, chips, or pre-existing contamination. Mark any defects with a non-transferring marker.
-
Initial Dry Clean: Use a rocket blower to remove loose dust from both surfaces.
-
Wet Clean: Apply a small amount of 99% IPA to a fresh lint-free wipe. Wipe the bonding surface of the cover glass in one direction, applying moderate pressure. Immediately follow with a dry section of a clean wipe to remove all IPA residue before it evaporates. Repeat this IPA-wet → dry-buff cycle 2-3 times. Perform the identical process on the display module’s surface.
-
Tack Cleaning: Use a fresh piece of dust-removal tape. Gently lay it onto the cleaned surface, press down lightly, and peel it back at a low angle. This “lifts” any remaining electrostatic particles. Repeat 2-3 times on each component. Re-inspect under oblique light. Do not proceed until surfaces are immaculate.
Phase 2: Spacer Placement & Test Fit
-
Apply Spacers: Place small plastic shims or pre-cut spacer strips near the edges of the display’s active area, just inside the final bezel line. Typically, 2-4 spacers are sufficient. Ensure they are evenly placed to maintain a consistent adhesive gap.
-
Perform a Dry Run: Carefully lower the cover glass onto the display, aligning it perfectly. Press gently to ensure the spacers seat correctly. This confirms alignment and spacer height without committing. Lift the glass straight off and set it aside, resting on its edges.
Phase 3: LOCA Application & Assembly
-
Prepare the LOCA: If the LOCA is two-part, mix slowly and thoroughly according to the datasheet, then degas if needed. Load into a syringe or applicator bottle.
-
Dispense the Bead: With the display module flat, dispense a continuous, generous bead of LOCA in a zigzag, “S,” or spiral pattern onto the display’s active area. Crucially, ensure the bead does not reach the very edges. Leave a 2-3mm margin from the sides to prevent overflow.
-
Initial Contact & Capillary Action: This is the key maneuver. Tilt the cover glass at a 30-45 degree angle. Align one edge (the “hinge” edge) precisely with the corresponding edge of the display. Gently lower the glass, making initial contact along this hinge line. The LOCA will begin to wet the glass.
-
The Slow Lay-Down: Gradually lower the rest of the glass, like closing a book. This allows the adhesive to flow uniformly via capillary action, pushing air out towards the opposite, open side. Do not press down.
-
Final Squeezing: Once the glass is fully laid down, very slight, even pressure in the center may be applied to encourage outward flow and ensure contact with spacers. Stop immediately if you see adhesive approaching the edges. Any overflow is problematic.
Phase 4: Initial Fixing & Bubble Removal
-
Inspect for Bubbles: Lift the assembly and view it against a light source. Small microbubbles are often trapped.
-
Bubble Management:
* Tapping/Gentle Pressure: Use a plastic spudger or a soft squeegee to gently “push” bubbles from the center towards the edges. Apply slow, firm strokes.
* The Wait Method: Often, surface tension will draw small bubbles out on its own if left for 5-10 minutes.
* Needle Pricking (Last Resort): For persistent, large bubbles, use a fine needle at a shallow angle to prick the glass directly above the bubble, allowing air to escape. This is risky and can damage coatings. -
Edge Cleanup (If Necessary): If minor overflow occurred, use a pointed swab with a tiny amount of IPA to very carefully wick away excess from the edge. Avoid drawing IPA under the glass.
Phase 5: UV Curing
-
Mask Critical Areas: Apply UV-blocking tape over any light sensors, cameras, or flexible cables at the edges.
-
Initial “Tack” Cure: Place the assembly under the UV lamp. Perform a very short, low-power (or increased distance) exposure—often 5-10 seconds. This creates a gel-like “tack” cure, fixing the components in place without a full hard cure, allowing final bubble checks.
-
Final Full Cure: Perform the main cure according to the LOCA datasheet. This typically involves exposure in multiple orientations (front, then flip for the back/sides) for specified times (e.g., 30-60 seconds per side at full power). Never shortcut cure times. Incomplete curing leads to adhesive failure, yellowing, or outgassing.
5. Post-Cure Inspection & Finishing
-
Visual Inspection: Check for bubbles, voids, haze, proper alignment, and any adhesive leaks.
-
Adhesion Test: Light finger pressure on the edges should reveal no delamination or movement.
-
Optical Clarity Test: Power on the display and check for uniform brightness, absence of dark spots (pressure points), or optical distortions.
-
Final Cleaning: Remove any masking tape and clean the exterior surfaces with IPA.
6. Troubleshooting Common Issues
-
Bubbles After Curing: Cause: Insufficient bubble removal before tack cure, or curing too quickly. Solution: Prevention is key. If severe, the assembly must be carefully separated, fully cleaned, and the process restarted.
-
Hazing/Frosting: Cause: Moisture contamination (humidity or wet surfaces) inhibiting the cure, or mixing IPA with uncured LOCA. Solution: Ensure surfaces are perfectly dry, control humidity, and avoid IPA contact during assembly.
-
Adhesive Overflow: Cause: Too much LOCA applied or excessive pressure. Solution: Use less adhesive and apply pressure more judiciously. Clean overflow immediately before curing.
-
Incomplete Cure (Sticky Surface): Cause: Insufficient UV intensity, expired LOCA, or shadowed areas. Solution: Verify lamp output with a meter, ensure fresh adhesive, and cure from all angles.
-
Newton’s Rings (Rainbow Patterns): Cause: Direct contact between glass and display due to insufficient spacer height or adhesive layer thickness. Solution: Use slightly thicker spacers.
7. Conclusion
Mastering display lamination with UV LOCA is a skill that blends materials science with artisan-level technique. While it presents challenges absent in dry film processes—primarily in bubble management and cure control—its benefits for flexibility, gap-filling, and accessibility are substantial. Success hinges on an almost obsessive commitment to cleanliness, a methodical and patient approach to assembly, and a rigorous adherence to the curing protocol. By following this detailed guide, technicians, hobbyists, and engineers can achieve optically perfect, durable bonds that meet the high standards demanded by today’s display technologies, turning a daunting process into a repeatable and reliable operation.
For more about step-by-step guide: achieving flawless display lamination with UV LOCA glue: mastering light wavelength & time, you can pay a visit to DeepMaterial at https://www.uvcureadhesive.com/ for more info.